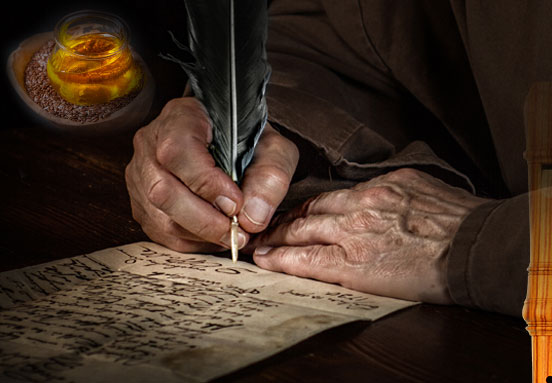
The secret of oiling a recorder
Generations of skilled and knowledgeable makers have, over the centuries, passed down the secret information of how to properly oil a recorder.
First orally. Later, the knowledgeable wrote down these vital steps on precious materials and stored them in secret areas of their writing rooms and libraries.
This is how it often seems to us when people talk about oiling a recorder. Here we approach the most secret knowledge.
No. Certainly not! Oiling is quite simple and your recorder needs the oil to give you many years and decades of pleasure.

The tools you need
The beauty of oiling a recorder is that the work does not require expensive special tools and is really fun.
The maintenance work can be done at the kitchen table, for example.
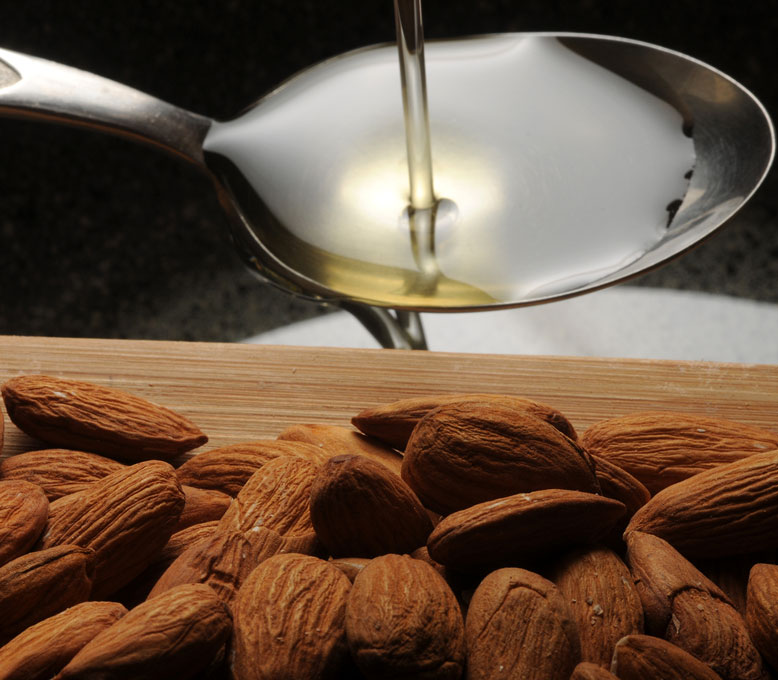
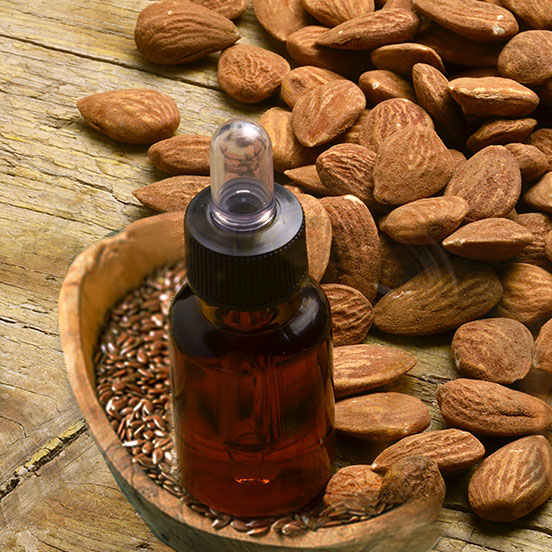
In 90% of cases, it is best to use a vegetable oil that is free of harmful substances, because you are also oiling the beak that you put into your mouth. Sweet almond oil and linseed oil are best. You will learn more about the differences and advantages of each oil later.
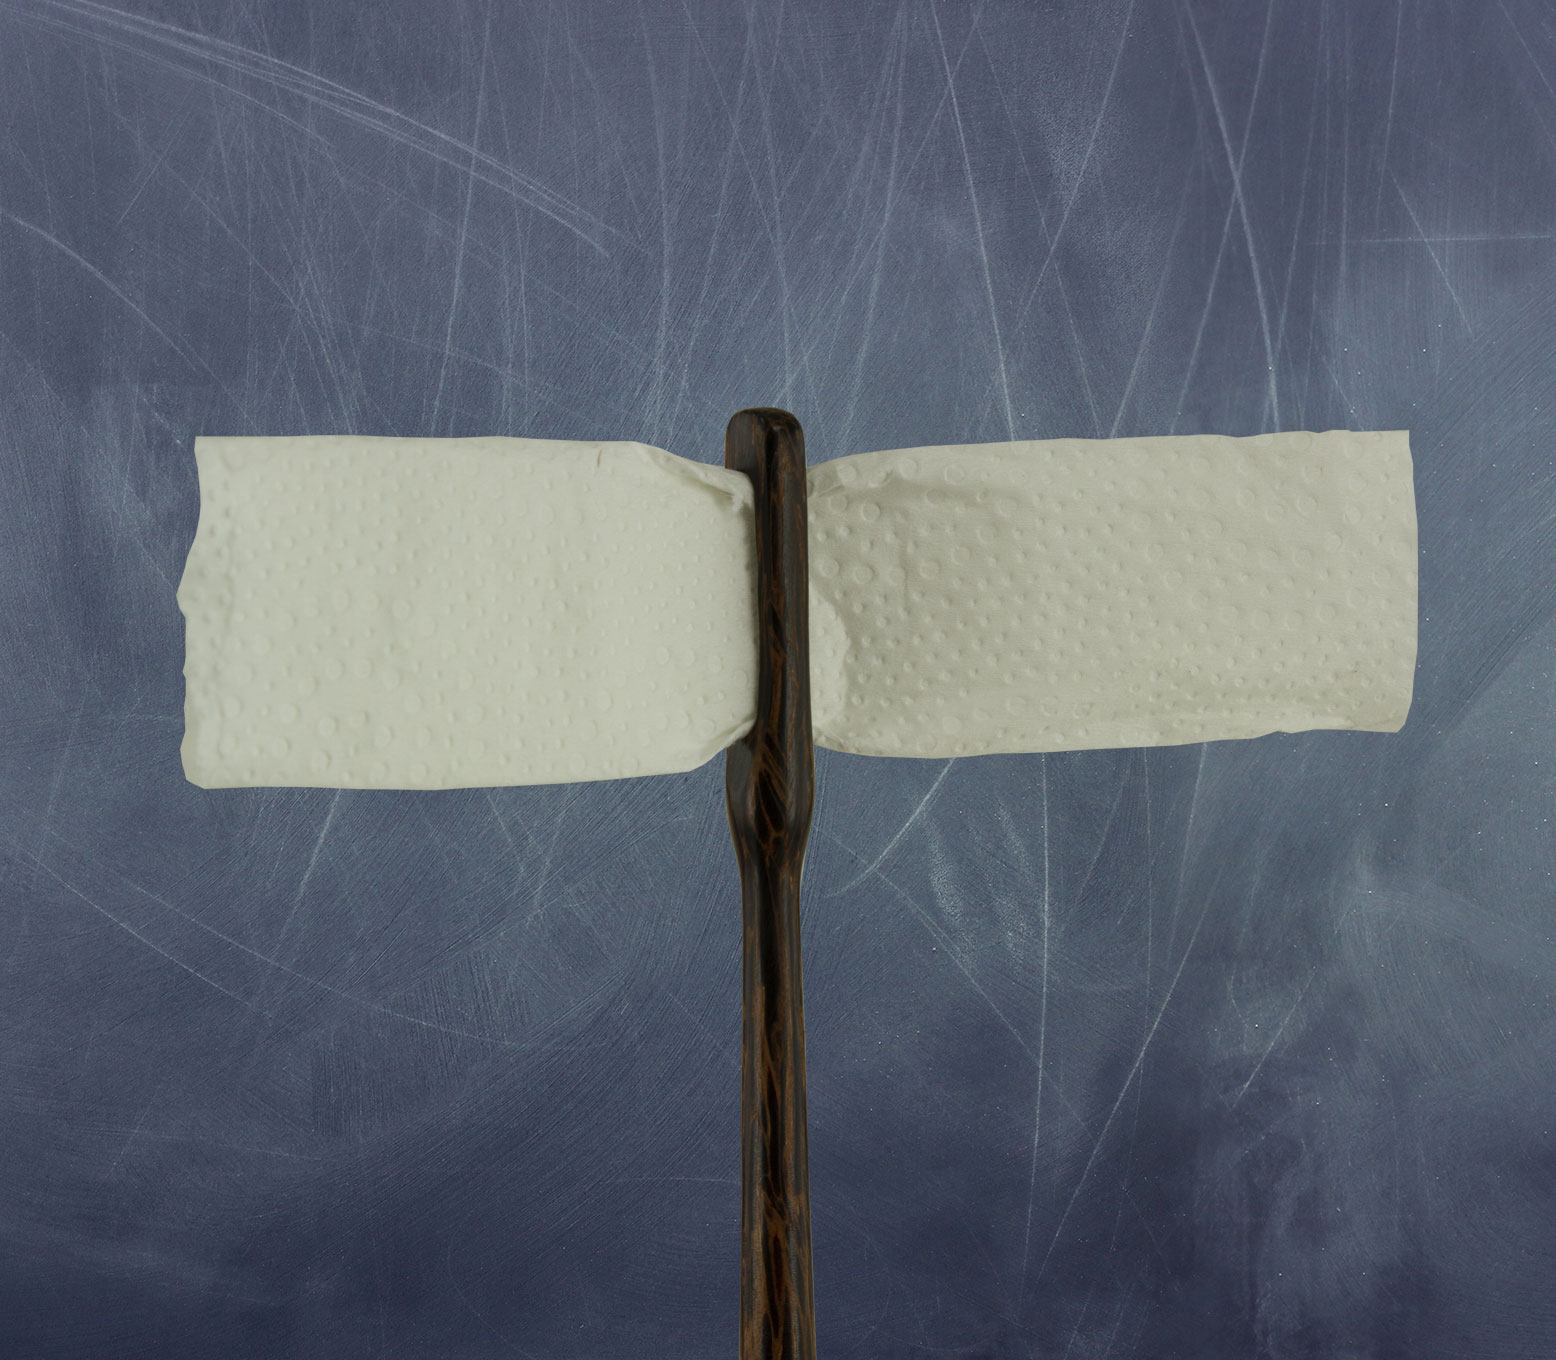
Wooden or plastic cleaning rods are particularly useful here, with a piece of kitchen paper threaded into the eyelet. The rod should be longer than the body of your instrument. We will put a few drops of oil on the paper and apply it to the instrument. Small paintbrushes are also useful.

An old towel as a base and to lay the instrument down on, a plate and a few sheets of kitchen paper to wipe off excess oil. This is the perfect oiling set up.
To oil or not to oil - a recorder's crucial question.
Regrettably, recorder manufacturers do not necessarily provide clear instructions for those who want to take good care of their instrument. The care instructions of different manufacturers can still differ so much that it is downright contradictory. On individual subjects there can be directly opposing instructions.
But the rules makers follow are actually quite simple: wooden recorders are generally not varnished on the surfaces where they are exposed to moisture during playing.
This especially applies to the surfaces of the inner bore, the labium surfaces and edge, as well as the three sides around and above the window.
Of course, the entire windway (roof, sides and block surface) is particularly affected by the moisture produced during playing, but we look at that separately later.
So how does the wood react when it is repeatedly soaked?
Originally, the surfaces are smooth and water-repellent - the the fine pores of the wood sealed by its natural fat content or by treatment with oil or paraffin wax.
However, playing the recorder results in exposure to moisture, which is then wiped away. Although this is the process by which we care for our recorders, over time the protective water-repellent fats, oils and waxes are pulled to the surface of the instrument, dissolved and drawn out of the instrument.
The surface of the instrument becomes rough and takes on a visible grey shimmer whilst the sound becomes "fluffy". It is easy to imagine what such poor conditions mean for the sound of the recorder, when you consider how important smooth, clean surfaces are for the sound quality!
And in our experience, many recorders accused of sound defects need nothing more than a proper "oiling"!
Each type of wood used in recorder making has naturally different qualities and each recorder that is made and played experiences differing strains: Therefore, no definitive rule can be given stating how often a recorder should be oiled. Softer woods need more oil and harder ones less. Avid players will also need to oil more frequently than intermittent players. In short, it is important that we are attentive and observe our instrument well. That way, it is not difficult to recognise when the recorder needs oiling.
If a recorder has become as dry as described above, the wood will be crying out to be oiled - you should not let it get that bad. As a guide, a recorder should be oiled about twice a year. However, it is more important that you regularly check the "oiliness" of your recorder and react accordingly. Then it is time to prepare an area for oiling and to take care of the instrument.
Which oil?
There are two important types of oil in woodwind care:
- vegetable oils (linseed oil, olive oil, almond oil etc.)
- mineral oils (sewing machine, other machine oils etc.)
The only instruments that need mineral oils are those with key mechanisms. These oils do not harden and thus better maintiain the keys' function. Vegetable oils, on the other hand, are excellent for protecting the wood because they harden within it, anchoring themselves and forming a solid, protective film. Each oil hardens at a different rate due to its chemical composition. Be careful, as on a key this hardening would be downright fatal: the flap would not move a millimetre afterwards. Never apply vegetable oils to keywork mechanisms! The traditional woodwind oil is linseed oil, which also plays an important role in other areas of wood care (e.g. furniture making). However, some people find its smell unpleasant. As an alternative, sweet almond oil can also be used for woodwind care.
As a general rule, all parts of the recorder except the block and windway should be oiled. At this point it is good to remind ourselves once again of the function of oiling: oil makes the surface of the wood water-repellent, i.e. water does not penetrate but rolls off in small droplets.
This is good for all parts of the instrument - except the windway! Inside the beak (and especially on the surface of the block) even the smallest droplets of water are a problem (they create hoarseness!) Therefore the surface of the block must be as free of grease as possible.
We use a diluted rinsing agent (Antikondens) as a remedy against "hoarseness" of the recorder created by droplets of water within the windway. This dissolves possible grease residue in the wood and prevents the formation of water droplets. If a little oil does accidentally get on the block it is, usually, not a problem. Smaller amounts of oil wash out during playing. A little more and the flute may be hoarse for a few days - but a treatment with Antikondens will help. In the worst cases, our workshop team will find a solution.
Protecting the keys
How can we safely oil an instrument with keys?

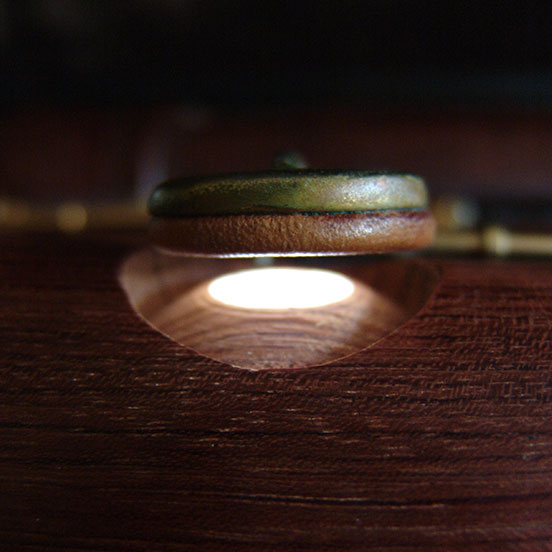
The bore
We will start with the inner bore of the footjoint. If the instrument has no keys, it is the easiest part of the recorder.
Proceed as follows: Gather the foot joint, a plate, the recorder oil and the cleaning stick with the piece of kitchen paper pulled through it. The strip of paper should not be too long, it should slide comfortably inside of the instrument. It is best to turn the cleaning rod horizontally whilst pulling the rod vertically through the instrument. This ensures a good distribution of oil across the bore.
Test your paper strip once without oil to ensure that it is the right size and does not get caught in the smallest parts of the recorder.
If this works, put a few drops of oil on the kitchen paper. Place the rod backwards into the instrument so that the paper and oil wait outside the instrument at the socket at the top of the joint and the handle of the rod is sticking out of the bottom end. Now pull (and turn) the rod through the bore. If you happen to put too much oil on the paper, it will transfer to the inside of the instrument, and that is the best place for the oil.
Look through the bore of the foot and check that all areas are wet with oil. If they are not, repeat the oiling process.
The mortise/socket
The bottom of the mortise (the socket that holds the centre joint when the recorder is put together) should also be lightly oiled. It is likely that some oil was already applied to it when the bore was oiled.
Take a small brush and spread the oil evenly over the flat bottom surface. As a rule, you do not need to oil the sides of the mortise, as they are already well protected by the cork grease.
The tone holes
Now the small paintbrush comes into play. Dip its tip into the oil and place a little onto the walls of the tone holes.
When you have oiled all the tone holes, place the foot joint on the plate. Preferably with the mortise/the top of the joint facing downwards. Most footjoints stand better this way and have unvarnished areas at these points - if your recorder is varnished.
For non-lacquered instruments, you can now rub the outside of the instrument with a lightly oiled cloth.
The bore
Start with the bore of the centre joint. If there are no keys attached, this is quite uncomplicated. Proceed as follows: Gather the centre joint, a plate, the recorder oil and the cleaning stick with the piece of kitchen paper pulled through it. The strip of paper should not be too long, it should slide comfortably inside of the instrument.
It is best to turn the cleaning rod horizontally whilst pulling the rod vertically through the instrument. This ensures a good distribution of oil across the bore. Test your paper strip once without oil to ensure that it is the right size and does not get caught in the smallest parts of the recorder.If this works, put a few drops of oil on the kitchen paper.
Place the rod backwards into the instrument so that the paper and oil wait outside the instrument at the top of the joint and the handle of the rod is sticking out of the bottom end.
Now pull (and turn) the rod through the bore. If you put too much oil on the paper, it will transfer to the inside of the instrument, and that's the best place for the oil. Look through the bore of the centre joint and check that all areas are wet with oil. If they are not, repeat the oiling process.
The tenons
The two tenons at either end of the centre joint are inserted into the mortises in the head and foot joints to hold the instrument together.
These joints are made to be precisely the correct size. Nevertheless, condensed droplets of water can push into small gaps found between the flat end of the tenon and the flat surface inside the mortise that it sits against. Therefore, the tenon end faces should also be oiled a little.
The tone holes
Now the small paintbrush comes into play. Dip its tip into the oil and place a little onto the walls of the tone holes.
When you have oiled all the tone holes, place the centre joint on the plate. It is best to turn it upside-down, so that any excess oil can run easily from the smaller end down and out of the larger end. Most centre joints will stand comfortably upright as long as you do not bump against the plate.
On non-lacquered instruments, you can now rub the outside of the instrument with a lightly oiled cloth.
The bore
The labium
The beak
Care of lacquered surfaces
Wipe lacquered instruments with a dry, clean cloth before leaving them to rest, so that no oil residue remains on the lacquer.
Oil can harden particularly quickly on the smooth surface of a lacquered instrument, and is then very difficult to remove. If your recorder has got sticky traces of oil on the surface - don't worry. We can also solve this problem in our workshop. However, it is better to wipe oil off any lacquered pieces carefully and promptly.
The resting phase - absorption of the oil
Up until now you have concentrated on working conscientiously for the well-being of your recorder. Now the wood and oil are working for you. You can leave the parts of the recorder unattended for several hours so that the oil can soak into the open pores of the wood.
And now it becomes clear whether the recorder needed oiling at all: if the oil applied is still standing thickly on the surface of the wood, then the wood likely did not absorb any - and thus did not need any. However, the application did not harm the instrument. Now we know that we can wait longer before performing the next oiling. A good visual indicator of the "oil level" of the wood is a slight grey tinge in the grain. If you discover such spots on your instrument, then your recorder is saying: I need oil, please!
If, on the other hand, the oil has been quickly and completely absorbed, then we can plan to oil the recorder again in the next few weeks. Most importantly, all the oil that has not been absorbed should be carefully wiped away with a clean cloth. This dry wiping must not be forgotten, as excess oil hardens into an ugly, sticky film that is very difficult to remove! Take special care at the tone holes: no oil residue should be left here, as it would harden and change the tuning!
When can I play again?
It is best to let the instrument rest for about 24 hours. During this time the oil can penetrate further and - depending on the type of oil - harden. If you want to play your recorder earlier - then play. It will not harm the instrument. It is better to oil your recorder a little every now and then than to have a big oiling campaign only once a year and perhaps oil too little.
Careful: If you wipe the recorder dry, you should bear in mind that uncured oil residues can stick to any cloths used (see warning below).
Caution - spontaneous combustion
Very important when using linseed oil! Please note that linseed oil is self-igniting (especially in cloths!) Never leave cloths or wipers lying around unattended. We recorder makers handle it like this: we dip the old wiper or cloth in water - that is, we extinguish it before it burns- or we seal the oil-contaminated tools airtight in a glass. In this way, we nip the fire in the bud by cutting off the oxygen supply. Only when the oil has completely hardened (the oil rag or wiper has then become really solid) is the danger truly averted. You must wait for this before throwing the oil rag into the rubbish. You can reuse oil rags or wipers if you thoroughly clean them of all oil residues with plenty of washing-up liquid and hot water.
My recommendation is to use kitchen paper for wiping. This can be safely disposed of in the toilet.
Tip 2: At home and in private, I think sweet almond oil is the better choice.
